Before you enter China, you must complete a Health Declaration Form. This requirement applies to every foreign traveler regardless of nationality, visa type, or entry purpose.
The WeChat Mini-Program — What You Will See
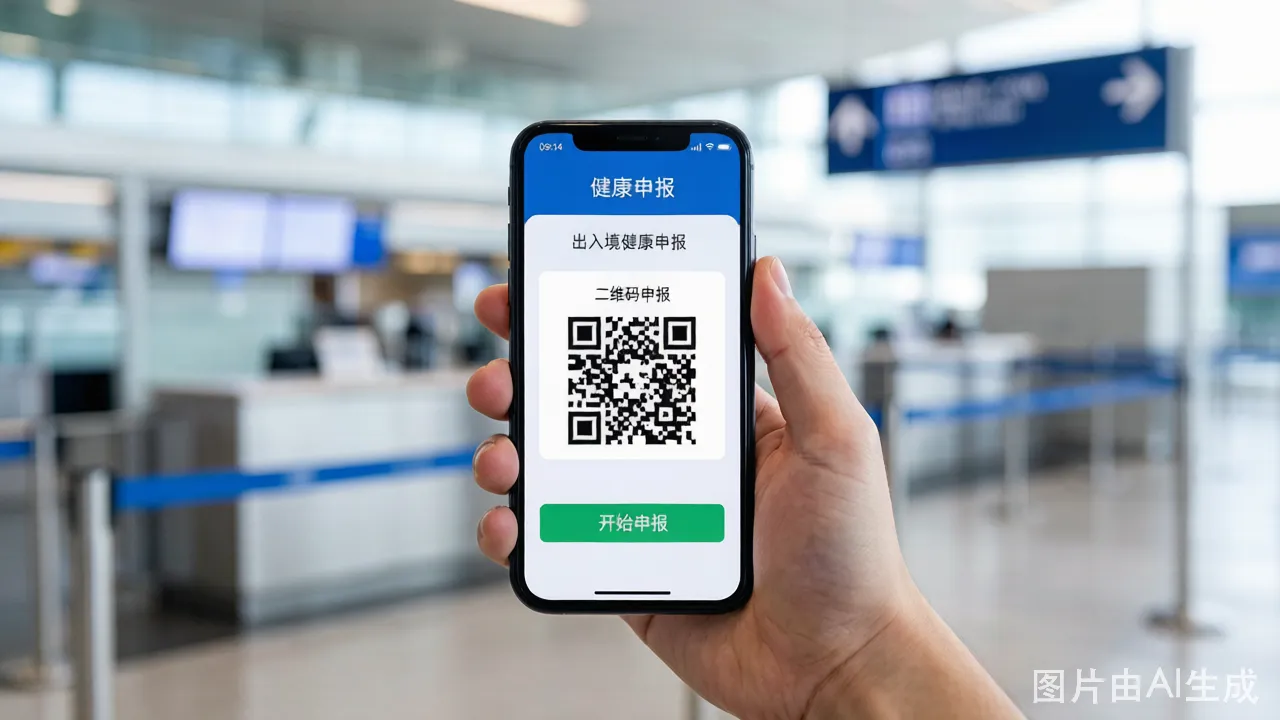
The official channel is a WeChat mini-program called "海关旅客指尖服务" (Customs Pocket Declaration). You can access it in two ways:
Method 1: Search. Open WeChat, tap the search bar at the top, and type "Customs Pocket Declaration." The official mini-program appears with a blue customs logo. Tap to open it.
Method 2: QR code at the airport. At departure gates for China-bound flights and in the arrival hall, you will see posters with a large QR code and the text "Health Declaration — Scan Here." Point your WeChat scan function at it and the mini-program opens automatically.
Once open, the mini-program presents a clean interface with a language switcher in the top-right corner. Tap it and select "English." The interface translates immediately. Three options appear on the home screen: "Health Declaration," "View My Declaration," and "Feedback." Hit "Health Declaration."
Step-by-Step Fill Guide
Here is exactly what you will fill in, screen by screen:
Screen 1: Traveler Type and Entry/Exit
- Entry or Exit: Tap "Entry" (you are entering China). This is the first toggle at the top of the form. Choosing "Exit" by mistake generates a different form type, and the QR code will not work at the entry gate.
- Traveler Type: Options are "Foreigner," "Chinese Citizen," "Hong Kong/Macau/Taiwan Resident." Select "Foreigner."
Screen 2: Personal Information
- Family Name: Exactly as on your passport. Pay attention to capitalization — if your passport says "SMITH," write "SMITH," not "Smith."
- Given Name: Middle names go here too. If your passport says "JOHN MICHAEL," write "JOHN MICHAEL."
- Gender: Male or Female.
- Date of Birth: Day-Month-Year format. Tap each field and scroll to the correct number. Double-check you didn't accidentally reverse month and day.
- Nationality: A scrollable list in English. China recognizes most countries by their standard English names.
- Passport Number: The alphanumeric string from your passport information page. Include letters and numbers exactly. No spaces.
- Occupation: Pick from the dropdown. "Tourist" or "Business" are common choices.
Screen 3: Contact Information
- Phone Number: Enter your mobile number with country code. If you have a Chinese SIM already, use that number. If not, your home country number with +[country code] is fine.
- Email Address: Optional but recommended. The customs system sometimes sends a backup copy of your QR code or a notification if your declaration needs updating.
Screen 4: Travel Details
- Date of Arrival: The date your flight lands in China, not your departure date. Tap the calendar icon and select.
- Flight/Train/Ship Number: Your flight number exactly as shown on your ticket — e.g., "CA982" or "MU588." The system cross-references this with the arrival manifest, so accuracy matters.
- Seat Number: If you have selected a seat, enter it. If not, "unknown" or the booking class is acceptable.
- Port of Entry: Select from the list. Major airports are listed by city and airport name: "Beijing Capital International Airport," "Shanghai Pudong International Airport," etc.
Screen 5: Address in China
- Write where you will stay on your first night. Hotel name and district are sufficient: "Jinjiang Hotel, Huangpu District, Shanghai." If staying at a private residence, write the full address including apartment number and street name.
- This address does not need to be your permanent address in China. It is your first-night accommodation.
Screen 6: Travel History — Past 14 Days
- The mini-program shows a checklist of countries. Scroll through and check every country you have been in during the 14 days before your China arrival.
- Count transit too. If you changed planes in Dubai, check UAE. If you spent two hours in a Paris airport lounge, check France.
- You can select multiple countries. The form will list them all on the summary screen.
- The start date for this 14-day window is calculated from your arrival date. The mini-program does this automatically.
Screen 7: Health Status
This is the checklist section. You see a list of symptoms with "Yes/No" toggles:
- Fever
- Cough
- Difficulty breathing
- Fatigue
- Sore throat
- Runny nose
- Loss of taste or smell
- Nausea or vomiting
- Diarrhea
- Other symptoms
Toggle "No" for everything if you are healthy. If you have a genuine cold, be honest — answering "Yes" does not necessarily get you denied entry, but it may route you to a secondary health screening. The officer will ask follow-up questions and may take your temperature. Falsifying this section when you are visibly ill is worse than admitting a mild cold.
Screen 8: Contact History
Two yes/no questions:
- "Have you had contact with a confirmed or suspected infectious disease case in the past 14 days?"
- "Have you visited any area with a local outbreak in the past 14 days?"
Answer honestly. These questions exist for public health monitoring, not to trap travelers.
Screen 9: Review and Submit
The mini-program shows you a summary of everything you entered. Scroll through and verify:
- Name spelling matches passport
- Passport number is correct
- Flight number is correct (this is the most common error)
- Travel history countries are all listed
- Health questions match your actual condition
If something is wrong, tap "Edit" at the top and fix it. If everything is correct, hit "Submit" at the bottom of the screen.
What the QR Code Looks Like
The moment you submit, the screen changes to show a black-and-white square QR code with a blue border. Above the QR code, your name, passport number, and flight number are displayed in text. Below the QR code, the submission date and time are shown, along with a 24-hour validity countdown.
The QR code is large enough to read from a phone screen held at arm's length — approximately 4 cm by 4 cm. The scanner at the customs checkpoint reads it in under a second if the screen brightness is turned up and the code is not obscured by screen cracks or a dirty screen protector.
Screenshot this immediately. The mini-program does not automatically save the code. If you close the app or your phone restarts, the code may not be retrievable without re-submitting. Save the screenshot to your photo album. If you are traveling with someone, send it to them as backup. Some travelers print it out too — paper works at the scanner just as well as a phone screen.
QR Code Expiry and Resubmission
The QR code is valid for exactly 24 hours from the time of submission. If your flight is delayed and your code expires before you reach the checkpoint, you must submit a new declaration. The mini-program has a "Re-submit" function that copies your previous answers — you just update the arrival date and flight number, verify the health questions are still accurate, and hit submit again.
At the Health Check Counter — What Happens
After you exit the aircraft and walk toward immigration, you will see a row of gates with QR code scanners before you reach the passport control desks. These are the health check gates. There are usually 10-20 of them at a major international airport.
Here is the sequence:
-
Join the queue. There are usually separate lines for foreigners and Chinese citizens, marked with signs. Pick the foreigner line.
-
Prepare your QR code. Open your screenshot. Turn your screen brightness to maximum. If your phone has a blue light filter or night mode, turn that off — it can distort the QR code for the scanner.
-
Scan your QR code. A glass window at about chest height has a red laser scanner behind it. Hold your phone screen flat against the glass or about 5 cm away. The scanner beeps and a green light flashes.
-
The gate opens. If the scan is successful, a barrier gate slides open, letting one person through at a time. Walk through.
-
If the scan fails, the gate stays closed and a message on a small screen (in Chinese and English) tells you what is wrong. Common failure messages: "Declaration expired" (more than 24 hours old), "Information mismatch" (name or passport number does not match), or "Please re-submit" (data format error). Step aside, re-submit on your phone, and try again. There is usually a desk with an officer nearby if you need help.
-
Occasionally, a manual check. After scanning, an officer may ask you to step aside for a temperature check. This is a contactless forehead thermometer — takes one second. If your temperature is normal, you continue to immigration.
This entire process, from joining the queue to walking through the gate, takes 2-5 minutes at a well-staffed airport. At peak times (multiple international arrivals simultaneously), it can take 15-20 minutes.
Common Mistakes
1. Submitting Too Early
The most frequent mistake: filling out the form at home 48 hours before departure, then discovering at the checkpoint that the QR code has expired. The 24-hour clock starts when you hit "Submit," not when your flight departs. If you submit at 2 PM on Monday and land at 4 PM on Tuesday, your code expired two hours before you arrived. Wait until you are at the departure gate or on the plane (if there is WiFi) to submit.
2. Wrong Entry/Exit Selection
Choosing "Exit" instead of "Entry" is surprisingly common, especially for travelers who also filled out the form when leaving their previous country. The exit and entry forms look identical except for the toggle at the top. An exit QR code will fail at the entry gate.
3. Name-Format Mismatch
If your passport says "O'SULLIVAN" or "DE LA CRUZ," the apostrophe or spaces matter. The system does not normalize names. Enter exactly what the passport shows. A name mismatch triggers an automatic flag that requires manual clearance by an officer.
4. Wrong Passport Number
Transposing digits, omitting letters, or including the passport's check digit incorrectly. Read your passport number directly from the document when typing it — do not rely on memory.
5. No Flight Number Change When Rebooked
If your flight was canceled and you were rebooked on a different one, update the flight number in your declaration. The old flight number will not match the arrival manifest and the QR code may be rejected.
6. No Screenshot Taken
After submitting, you see the QR code. If your phone loses its internet connection, the mini-program may not reload. The screenshot is your insurance policy. Take it.
7. Phone Dead on Landing
Your 12-hour flight was fine, but your phone ran out of battery watching movies. Your QR code is on the phone. You now have no way to show it. Carry a power bank, charge during the flight, and consider printing a paper copy of the QR code as a backup. Paper copies are accepted at all scanners.
Quick Reference — Paper Form Fallback
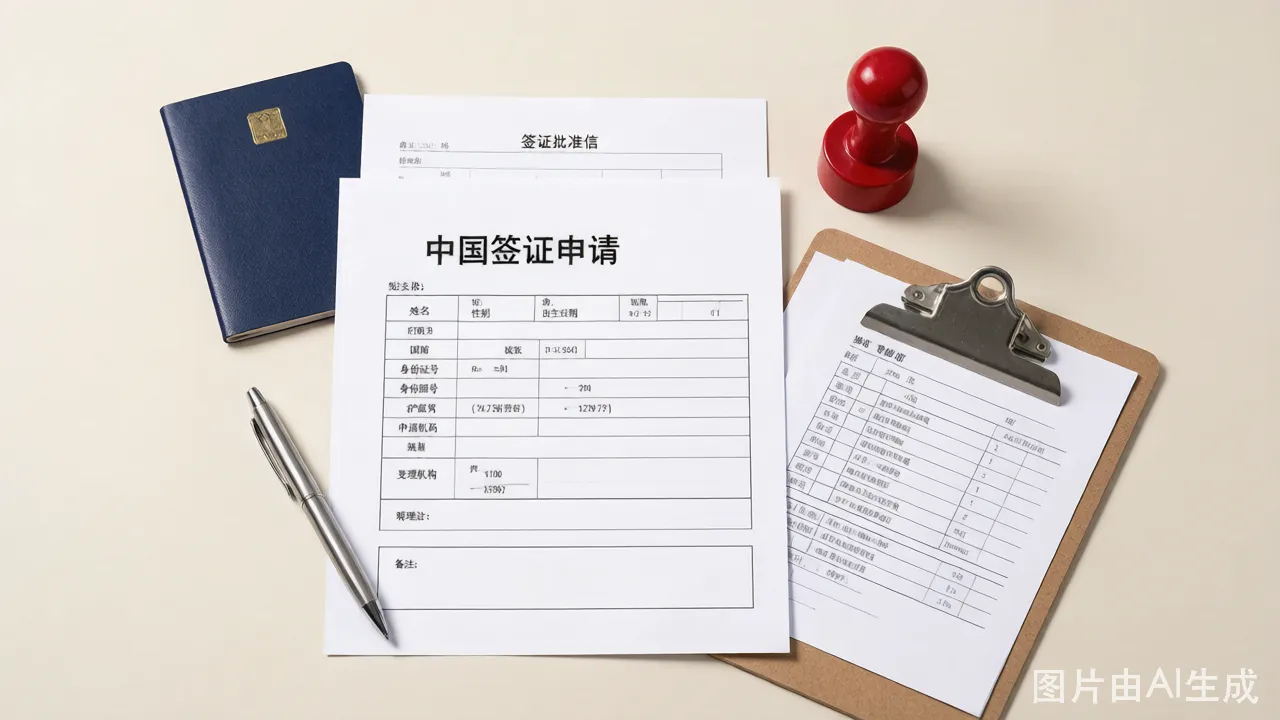
If you arrive without a digital QR code for any reason, paper forms are available at the customs area. The paper version is a single sheet with the same questions as the digital form. Fill it out by hand with a pen. Hand it to the officer at a manual processing desk. This takes longer — 10-15 minutes of filling and queueing — but it always works. The paper form requires the same information: your passport details, flight number, travel history, health status, and contact information.
Step-by-Step Guide
- 24 hours before arrival — open the WeChat mini-program or web form.
- Switch to English — look for the language selector, typically in the top-right corner of the screen.
- Select "Entry" (not "Exit" — you are entering China).
- Fill in personal details — passport number, name (match passport exactly), date of birth, nationality.
- Enter flight details — flight number, seat number, arrival date.
- Answer health questions — tick boxes for any symptoms. Be honest; falsification is a violation.
- Declare travel history — list all countries visited in the past 14 days, including your departure country.
- Submit and screenshot — save the QR code to your phone's photo gallery. Also save it to a second device if possible.
- At customs in China — after immigration, present your QR code at the scanner before collecting baggage.